
In 2017, my sister signed up for a batik-making workshop but failed to attend due to scheduling issues. Two years after, we both received an email informing up of an upcoming workshop from the same organizers.Immediately, we sent in our application and eventually was accepted to participate. Luckily, everything fall in to place and one Tuesday, we both found ourselves traveling Northbound to finally try out batik-making.
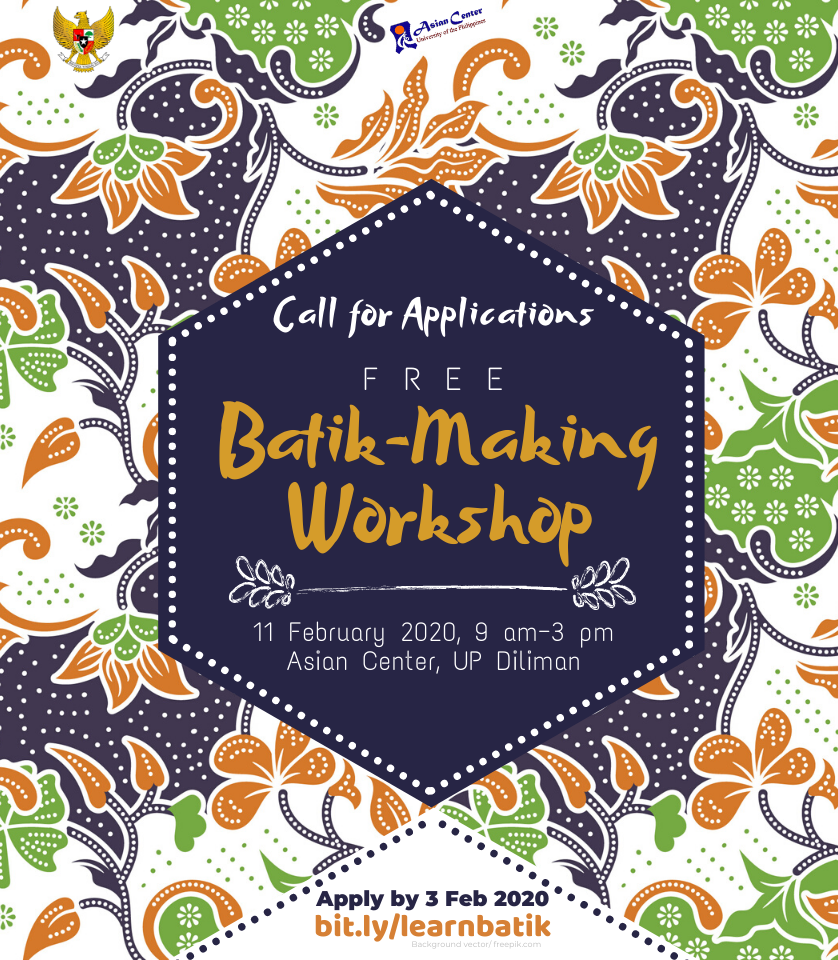
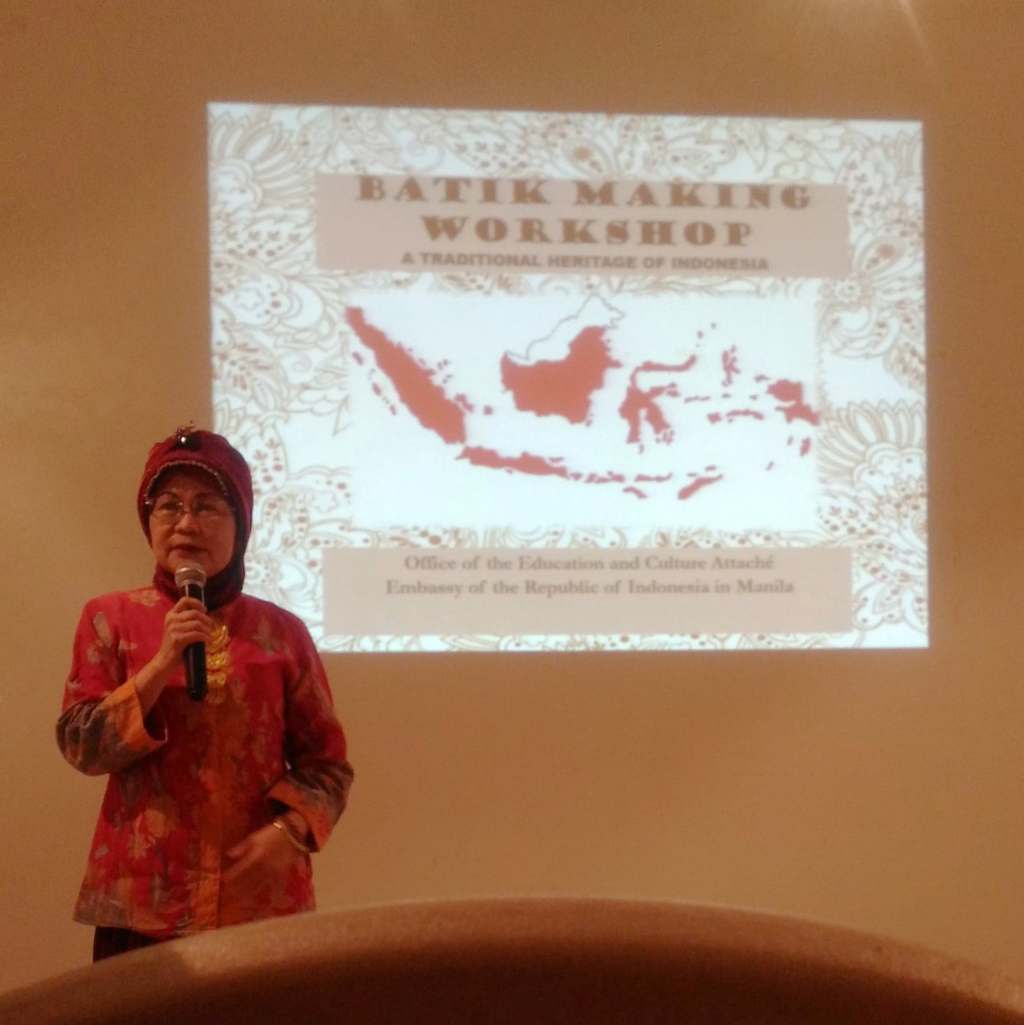
The workshop is organized by the University of the Philippines Asian Center with the Embassy of the Republic of Indonesia in the Philippines. The Education and Cultural Attache Lili Nurlaili lead the workshop.
“Batik is the Indonesian art of dyeing fabric where designs are drawn using lines and dots of hot wax. ” (UNESCO n.d.)
The designs could be applied using a pen called tjanting or by a stamp. Batik made with the latter usually cost less. The fabric is then soaked in dyes. The wax could be removed in boiling water. The steps could be repeated until the desired design is achieved.
The different regions of the country showcases a variety of designs and patterns.
After a brief talk on the history and the steps in batik-making, we, the participants, were handed a piece of fabric and pencil and were instructed to head to the outdoor workshop area.
The procedure was pretty straightforward but requires a lot of dexterity and patience.
With the pencil, the designs are sketched on the fabric. We were instructed to keep the designs simple so that we won’t have a lot of trouble in the succeeding steps.
After sketching, the design is traced with wax using the canting or tjanting. The assistants checked our works. The reminded us that the wax must penetrate to the back of the fabric to ensure that the dye won’t seep in.
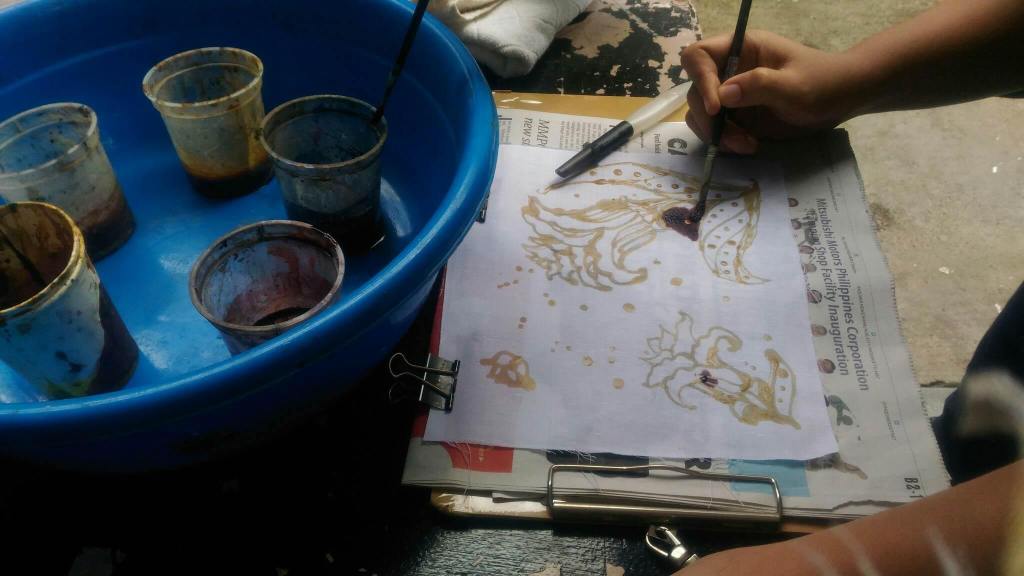
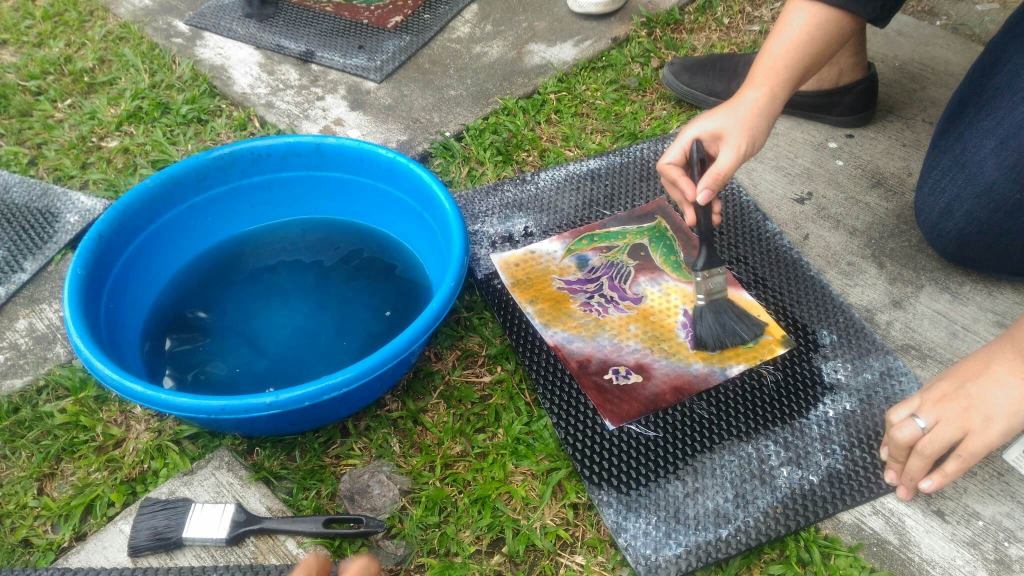
After putting the wax, we we given a selection of fabric dyes and brushes. At this point, it is crucial that we apply the dye multiple times. The fabric needs to be fully saturated with pigment. We placed the pieces of cloth under the heat of the sun to dry.
When the cloth has dried, we apply a coat of waterglass which serves as fixative for the pigment.
We left the cloth out to dry again before we boil it to remove the wax.
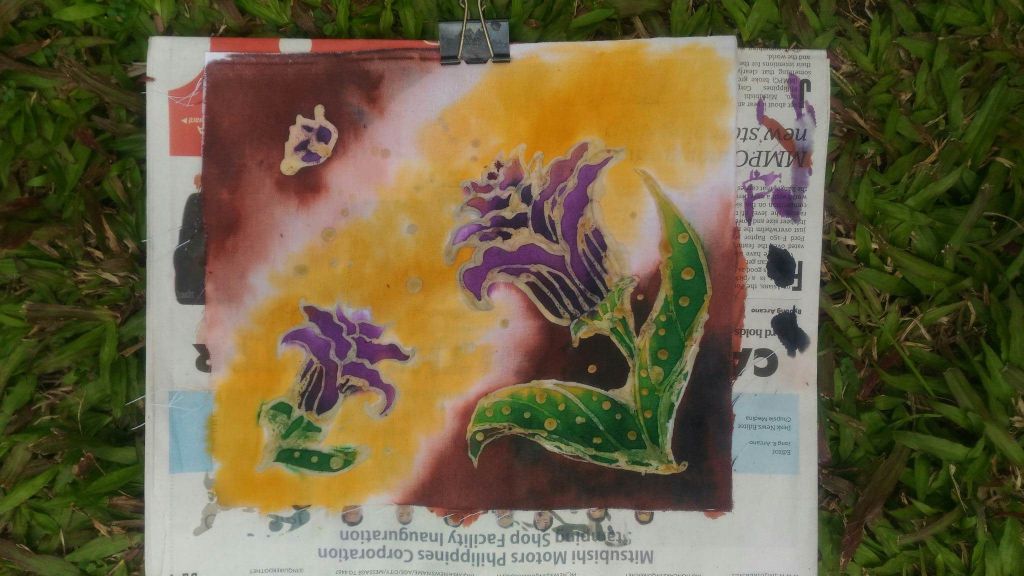
The weather definitely worked in our favor as the sun was shining brightly throughout the day. However, I wasn’t too pleased with my output that day. The colors in my fabric faded drastically because I didn’t soak it as much.
If there is one important lesson that I got from this experience, that is batik making requires a lot of patience. The tjanting takes a while to get use to. I ended up with a lot of wax spills because the pen basically acts like a funnel. I actually wanted to buy own materials so I can practice.
In addition to that, dye needs to be applied repetitively to ensure that the color will stick to the fabric.
And on top of all of that, it involves a lot of waiting for the fabric to dry – from the dye, from the waterglass and from the boiling water.
This workshop reminded me of how amazing the batik artisans are especially when you see the intricate designs in their finished work. It has been a great joy that I was able to participate in a workshop like this!
